Watching math and science teachers integrate Makerspace activities into their classrooms has been both inspiring and confounding. Knowing how excited my students were by the opportunity to build, create, and innovate made me want to include Makerspace ideas in my lessons. However, I was stuck with the question, How do I give this a Language Arts spin?
Brainstorming and Preparation Process

As another layer of my preparation, I met with two other teachers who had previously run Maker Stations in their classrooms. Their number one suggestion was to have written directions available for students during the rotations. Based on this information, I spent time creating a slideshow to be distributed via Google Classroom.
Implementation
On the day of our stations, my students walked in to our room already set up in pods with group members listed at each table. Materials were already set up at each station, along with a piece of poster paper labeled, “Our Norms.” Before we began our Maker Stations, we took time to discuss our learning targets for the day and the purpose of each station. From there, students worked in their pods to create three to four group norms to set them up for success. Each set of norms was shared out and discussed.
For each station, groups had twenty minutes to work collaboratively for a single product, or as individuals to create a personal piece. At the end of twenty minutes, groups were prompted to clean up and rotate. In hindsight, not all stations required the same amount of time. While twenty minutes was perfect timing for some, three stations could have used much more time based on how detailed my students are with their work!
Looking Ahead
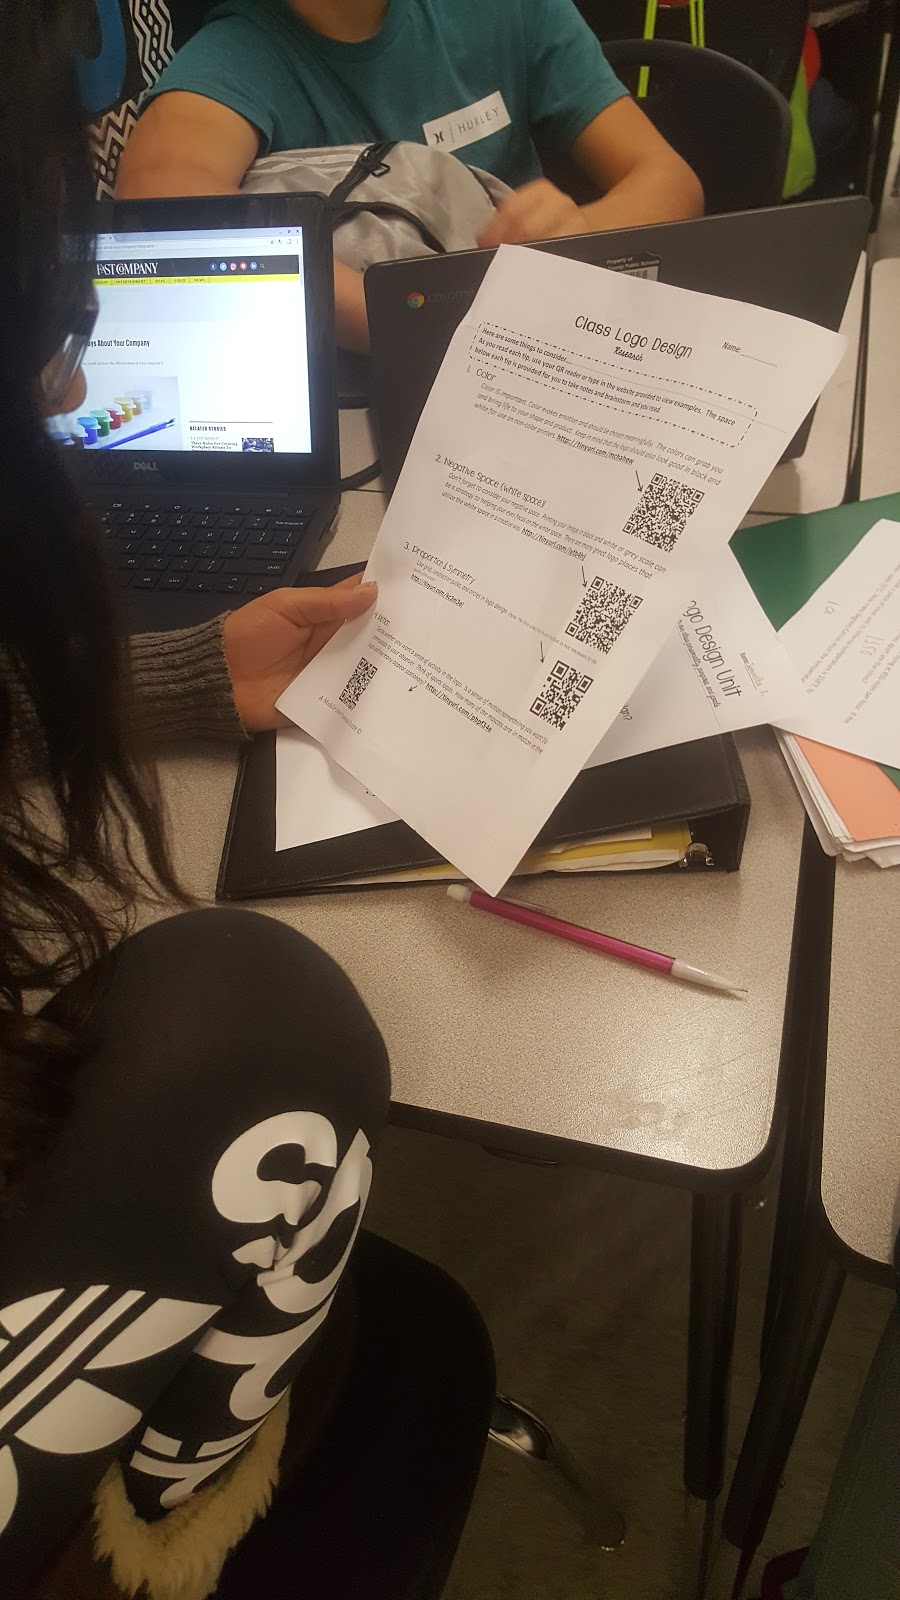 I was pleasantly surprised by how much my students loved these activities! The te Helping Harry and classroom logo design stations were by far the favorites of the bunch. For our next round of stations, I would like to implement some of the other ideas I found during my brainstorming process. In particular, I would like to do a digital magnetic poetry station using my Smartboard. One key component for planning my next round of stations will definitely be the consideration of time and making sure that each station requires an equal amount. Both my students and I are looking forward to our next round of stations that will take place after our SOLs!
Tips and Tricks
1. Frontloading is the key to a seamless Maker Station experience. Preparing materials ahead of time and having each station set up before students arrive will eliminate down time. Having a slideshow with visual directions available for students to review the directions, expectations, and have links to outside sources/sites allows groups to move more independently.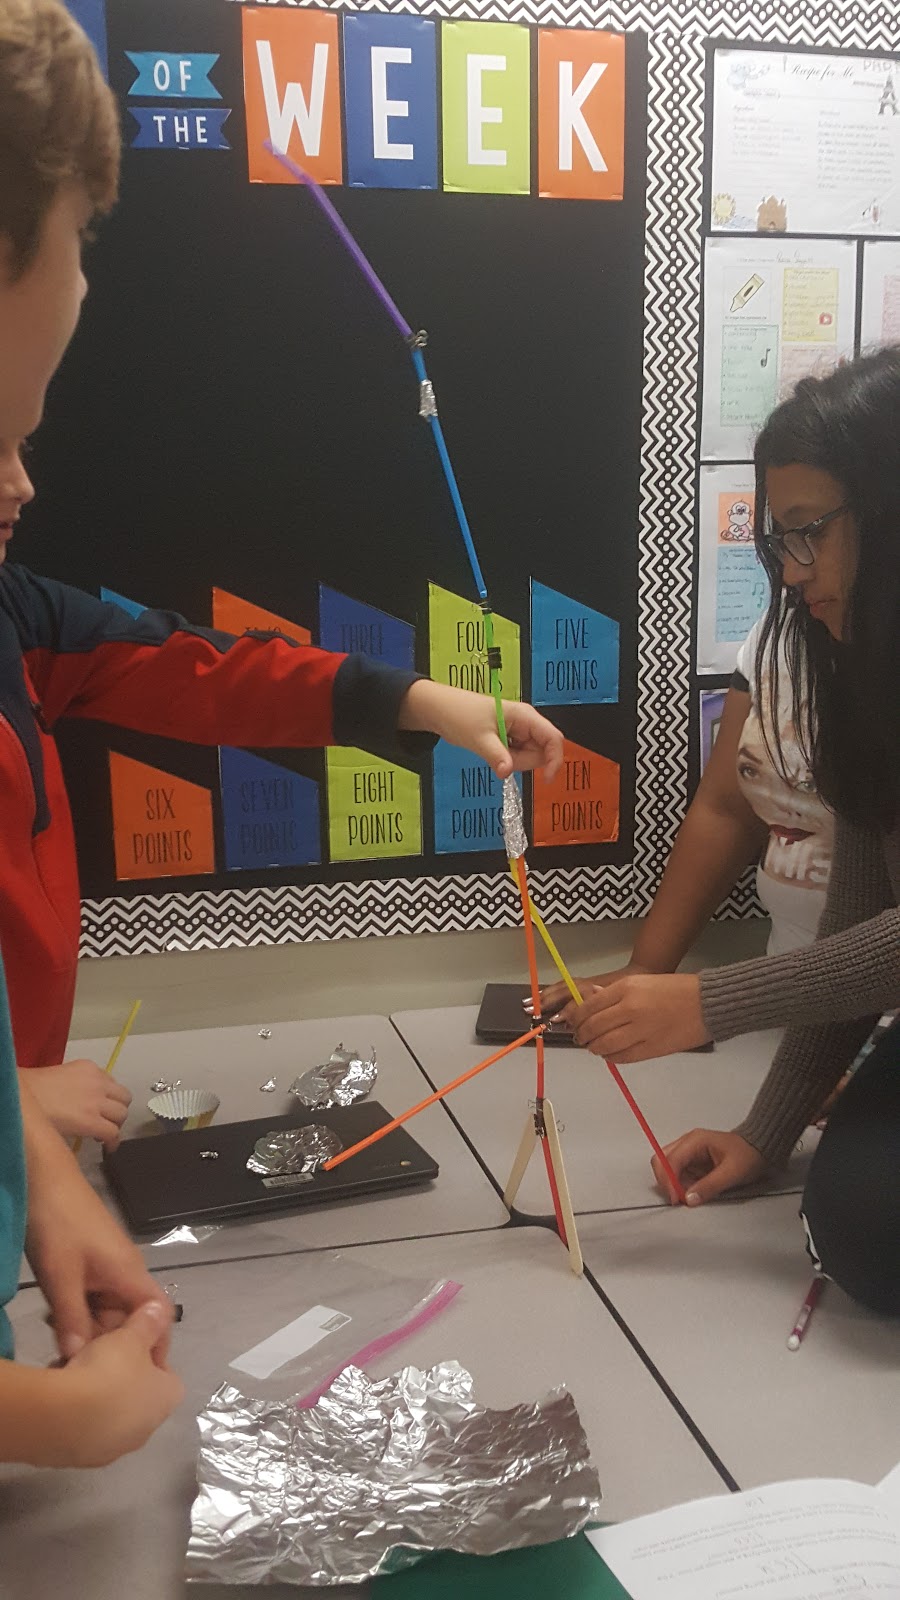 2. Strategic grouping creates a positive work environment. Having the students grouped appropriately for your specific class will allow for students to support each other and cut down on off task behavior. I found it incredibly beneficial to create groups with my more tech-savvy students evenly dispersed.
3. Setting norms will provide expectations for students. Spending a few moments before the stations begin to review norms, both visually and verbally, will be worth every minute! Having students spend time completing a “Looks Like/Sounds Like” for these norms will solidify a clear understanding of your expectations, and ensure a smoother class. If your Maker Stations will be broken up over two class periods, take a moment at the beginning of day two for students to reflect on their success with the norms.
4. Use a timer to keep consistent time frames for each round of rotations. Providing a specific time frame that students have to work at each station gives not only a sense of structure, but also lens to a sense of urgency among each of the groups to ensure that the task is complete.
 Jessica Martin has been with Chesterfield County for nine years and currently is a 7th grade Language Arts teacher and department chair at Robious Middle. Puzzles and problem solving, both in and out of the classroom, are one of Jessica’s great joys. In her free time, Jessica loves reading, exploring the outdoors, and working in her garden.
Resources
About the Author
Jessica Martin has been with Chesterfield County for nine years and currently is a 7th grade Language Arts teacher and department chair at Robious Middle. Puzzles and problem solving, both in and out of the classroom, are one of Jessica’s great joys. In her free time, Jessica loves reading, exploring the outdoors, and working in her garden.
Comments
Post a Comment